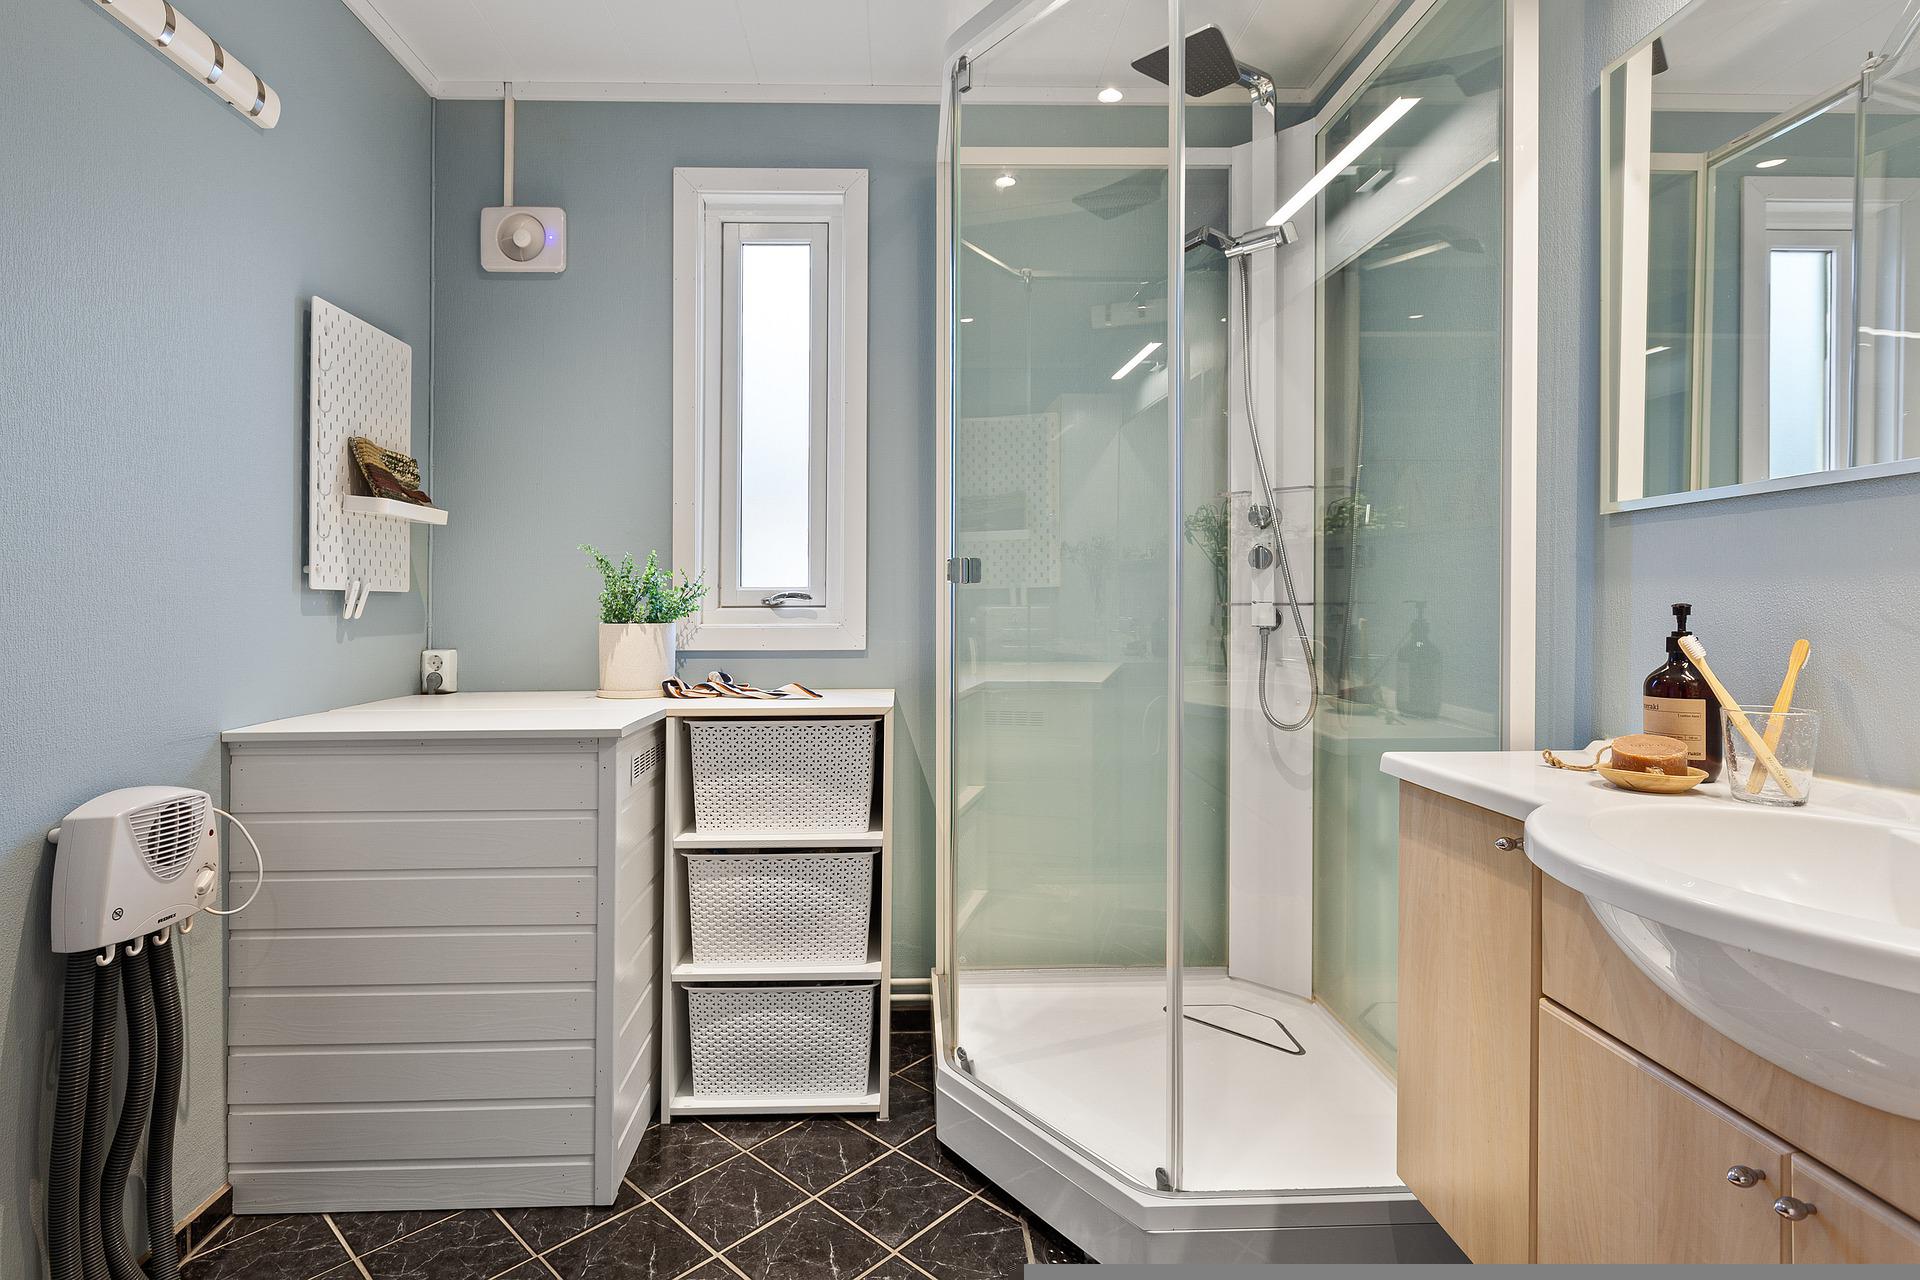

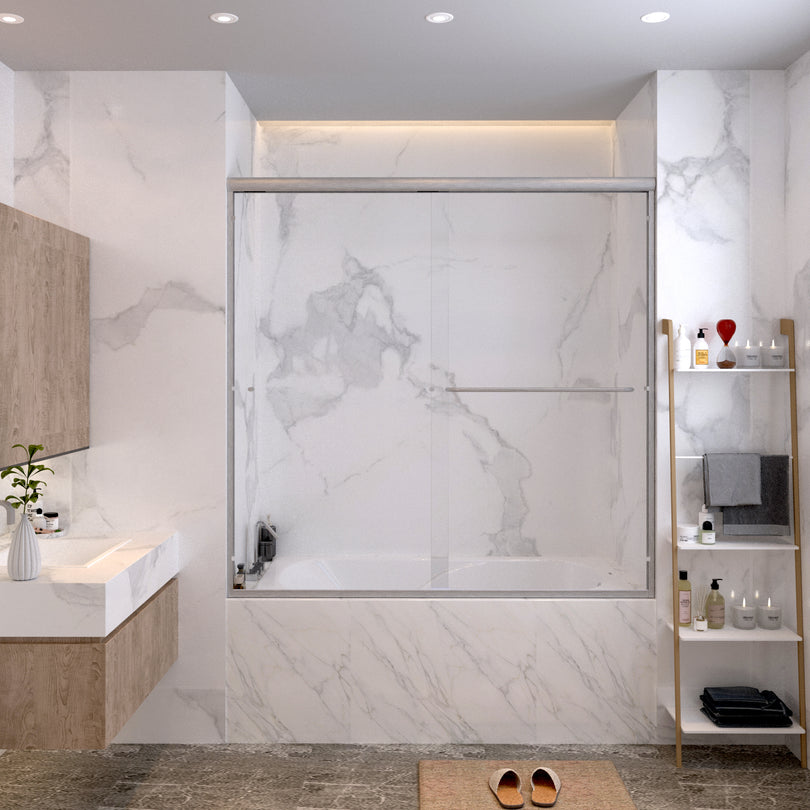
Throughout a washroom remodeling job, mounting a brand-new preformed shower pan is a common task. As well as it may be less complicated than you think to discover how to install a shower pan, depending on your skill level. As holds true of purchasing a bath tub, you'll need to locate a shower frying pan that will fit your room and work with the existing drain line. For example, if you are securing a bathtub that has the drain on the appropriate side, purchase a shower frying pan that additionally has a right-side drain to prevent changing plumbing.
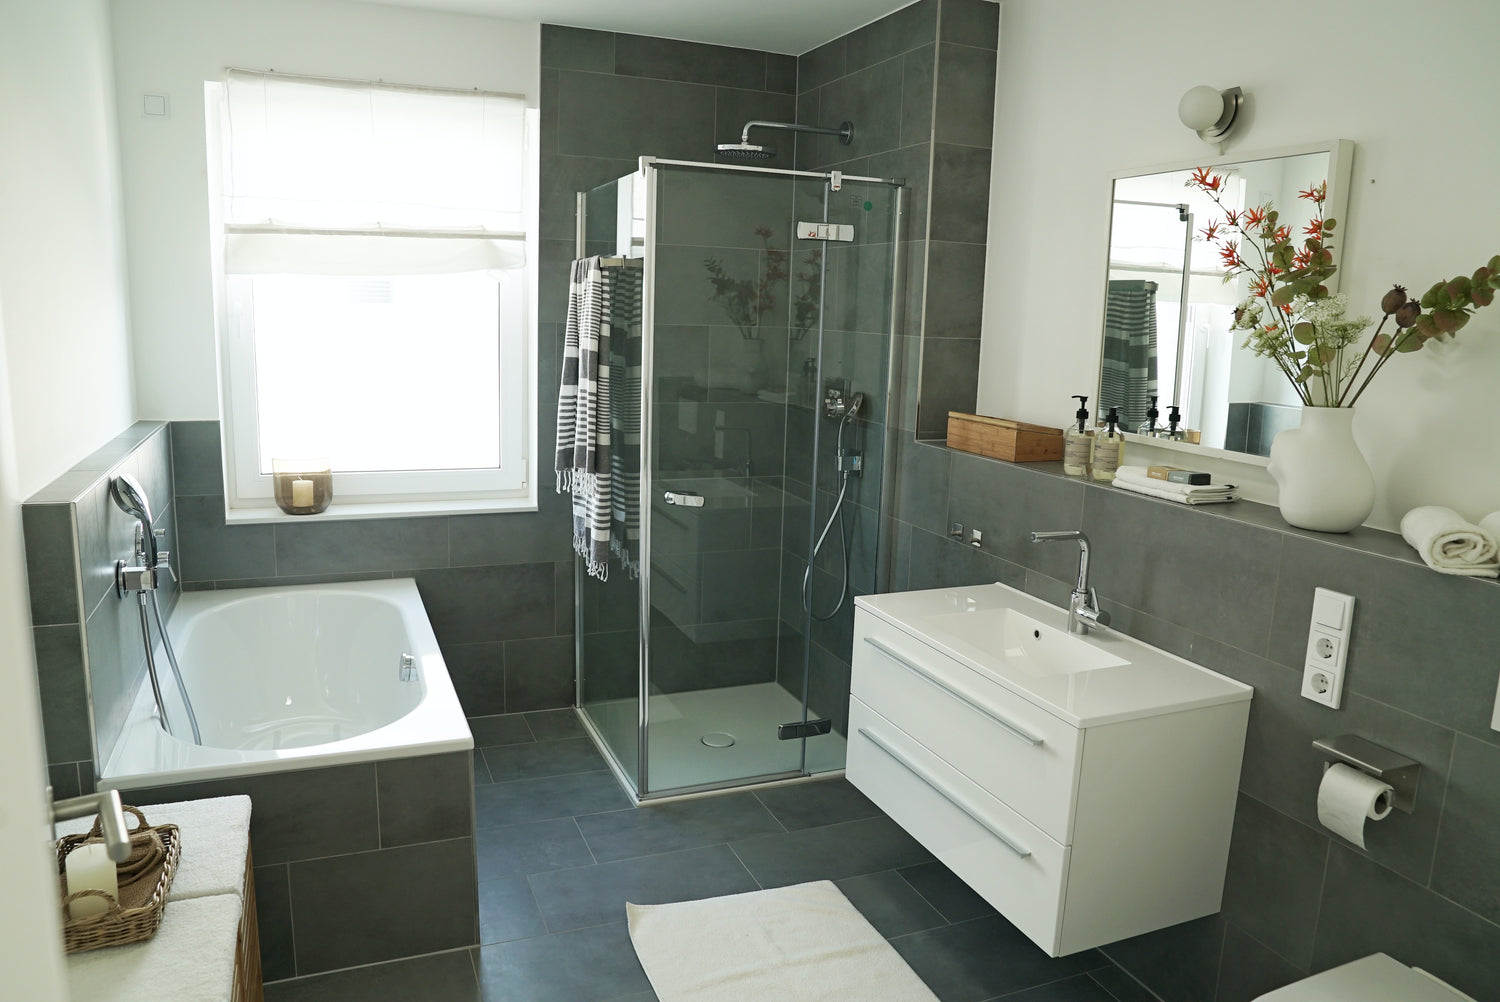
Likewise, if you are setting up a shower as a substitute to a bathtub, bear in mind that the perfect drain dimension for a shower is 2-inch pipe while a lot of tubs are plumbed with 1 1/2- inch drains. Unlike a bathtub, which can hold a lot more water, a shower can be prone to overflowing if plumbed with 1 1/2- inch pipeline. So in this case, you will certainly need to make some pipes adjustments to raise the size of the drainpipe. One option is to bring a brand-new 2-inch line over from the commode drainpipe line or the major drain line. When you have that sorted out, you can hop on to mounting your shower pan.
What You'll Need
Tools/ Devices
Gauging tape
Pencil
Degree
Cardboard
Drill
Products
Shower frying pan and also drainpipe suitable set
Shims
Plumbing technician's putty
Thin plastic
Mortar, water, pail, and also trowel
Screws with large heads (optional).
1. Step.
Meticulously determine the place for the new shower to get the appropriate size for the shower frying pan.
2. Prepare the Space.
Clean the room for the shower pan. The walls need to be clear down to the studs. And the floor requires to be as tidy as possible, so you can level the frying pan.
3. Dry-Fit the Shower Frying Pan.
Set the shower frying pan right into area to gauge any kind of changes you might need to make to the drain. Take dimensions from the wall surfaces, so you can align the drain.
With the shower frying pan in position, check along its side to make certain it is resting degree. Usage shims and make reference marks on the studs to make it simple to level the pan when you place it back in. Likewise, placed some cardboard in the shower frying pan, as well as walk on it to see just how steady the pan is.
4. Affix the Drain Installation to the Shower pan.
Get rid of the pan, as well as mount the shower drain fitting right into the opening in the shower frying pan. Apply plumber's putty to the bottom of the flange on the drain installation prior to installing it. Screw the drainpipe fitting onto the pan, as well as ensure it is limited. For the most part, there is a huge preserving nut that strings onto the tailpiece of the drain installation that you tighten up to protect the fitting. Ensure to mount whichever gaskets or washing machines that are included with the drain kit.
Depending upon which shower drainpipe you obtain, the 2-inch drainpipe line could be made to be glued onto the shower pan drain installation. However, in many setups, a compression-style drainpipe is the most convenient to install due to the fact that you can set the shower pan over the drainpipe and after that tighten the drain tailpiece onto the drain pipe with a rubber washer as well as nut.
5. Reconsider as well as Make Drainpipe Adjustments.
Ensure the drain and shower pan align nice as well as straight. Make any type of alignment modifications essential, and remove the frying pan again.
6. Lay the Mortar Base.
Mix a bag of mortar, and also spread it over the location where the shower frying pan will sit. The mortar must be about 1 inch thick. Keep away from the edges by a few inches to make cleanup simpler. The fins on the bottom of the shower pan will certainly embed in the mortar, creating a really inflexible shower flooring that will not bend when you walk on it.
7. Set and also Anchor the Pan.
Establish the shower frying pan onto the mortar, as well as degree it meticulously. Tighten the drainpipe into put on the drain line.
Some shower pans come with screws and also braces to connect the pan to the wall surface studs. Or else, you can utilize screws with large heads (such as roofing nails) to connect the flanges on the shower frying pan to the wall studs. Let the shower frying pan sit overnight for the mortar to set up before entering it.
8. Check for Leakages.
Check the drain by pouring water right into the shower pan. If you have accessibility to the space below the shower, observe it from under the flooring to look for leakages.
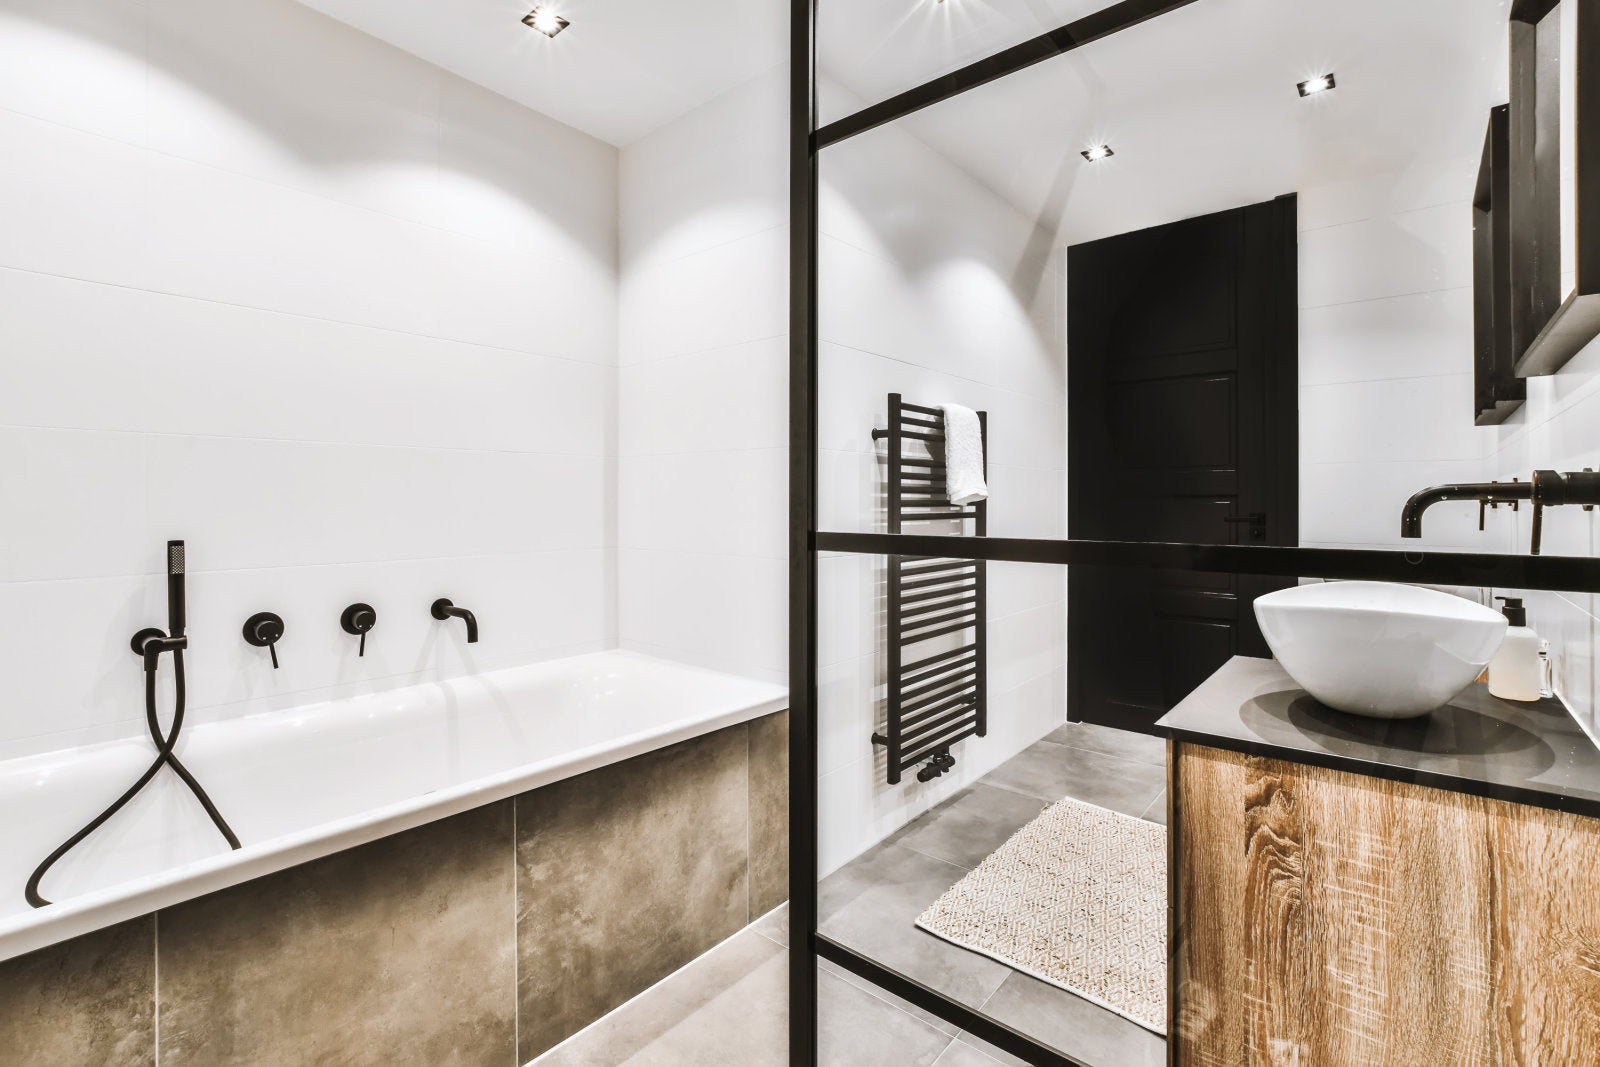
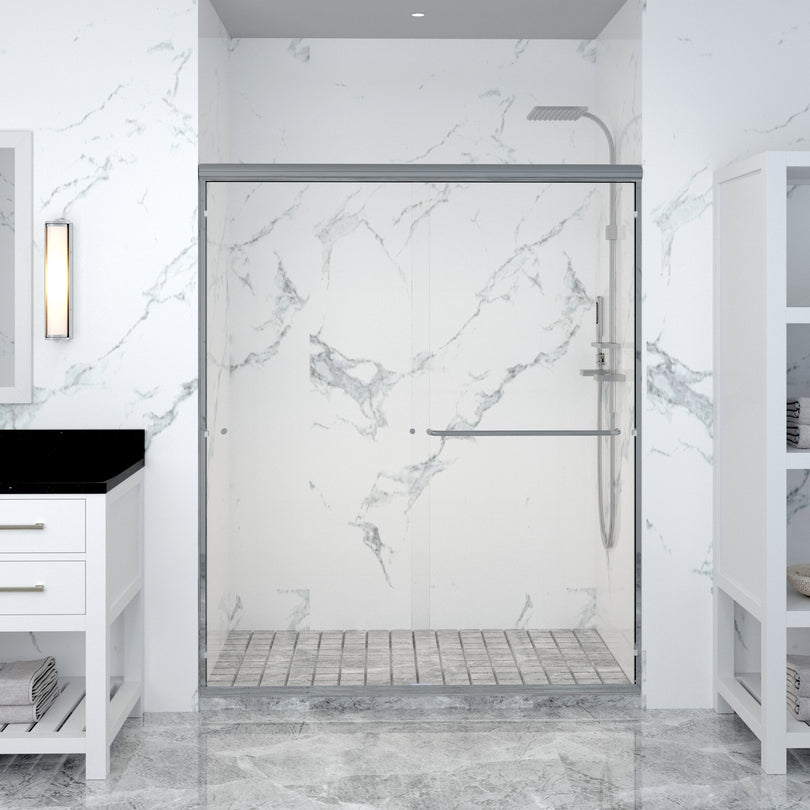
Now, you are ready to set up the wall surface surfaces, tap valve, and showerhead. An excellent service for shower walls is a border package.