

This job covers exactly how to fit a shower tray in a washroom. You will also discover just how to repair any type of damages prior to installing your brand-new shower tray, just how to link up wastes and after that exactly how to seal a shower tray appropriately to prevent any kind of leaks.
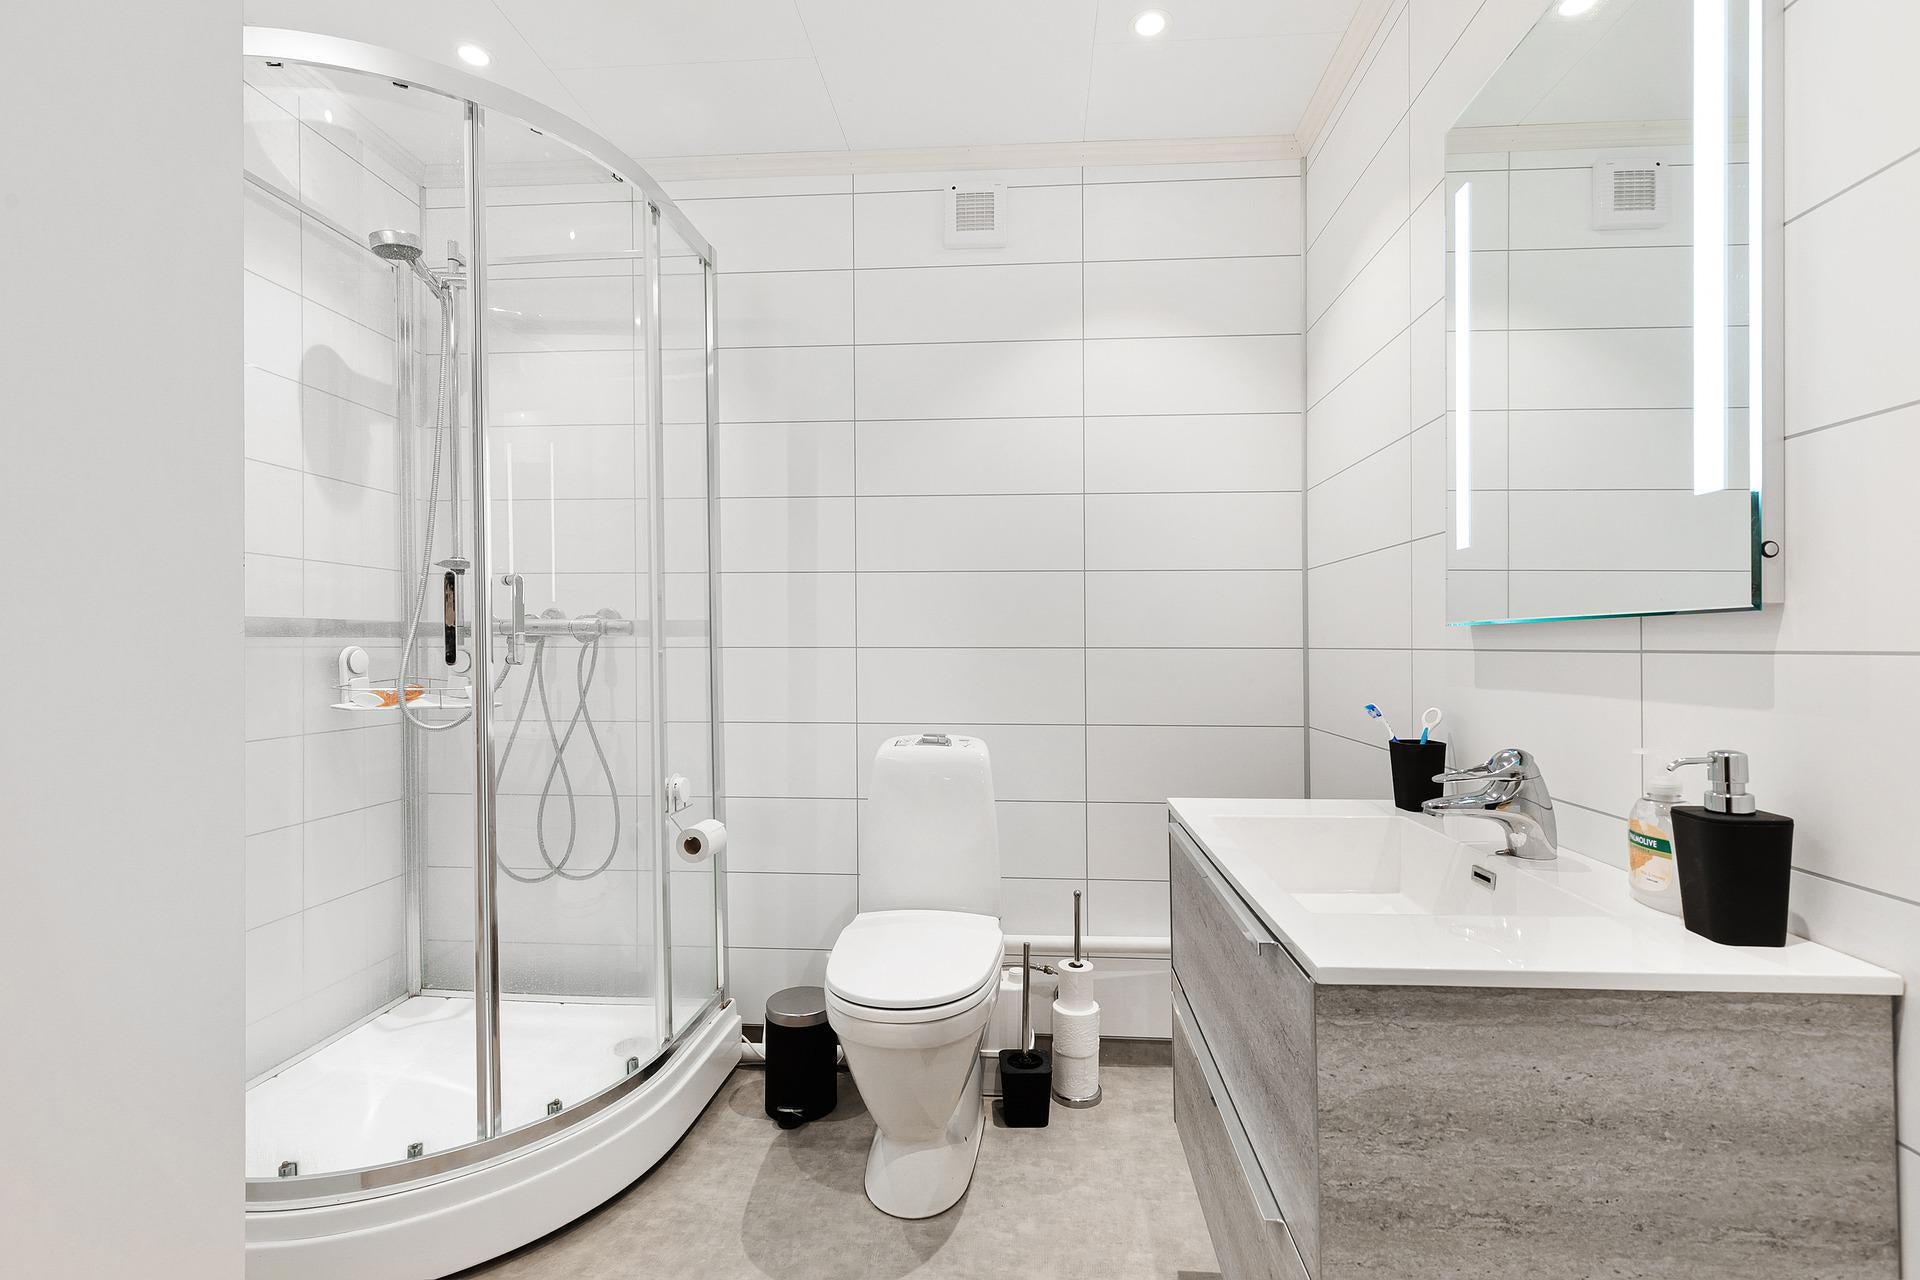
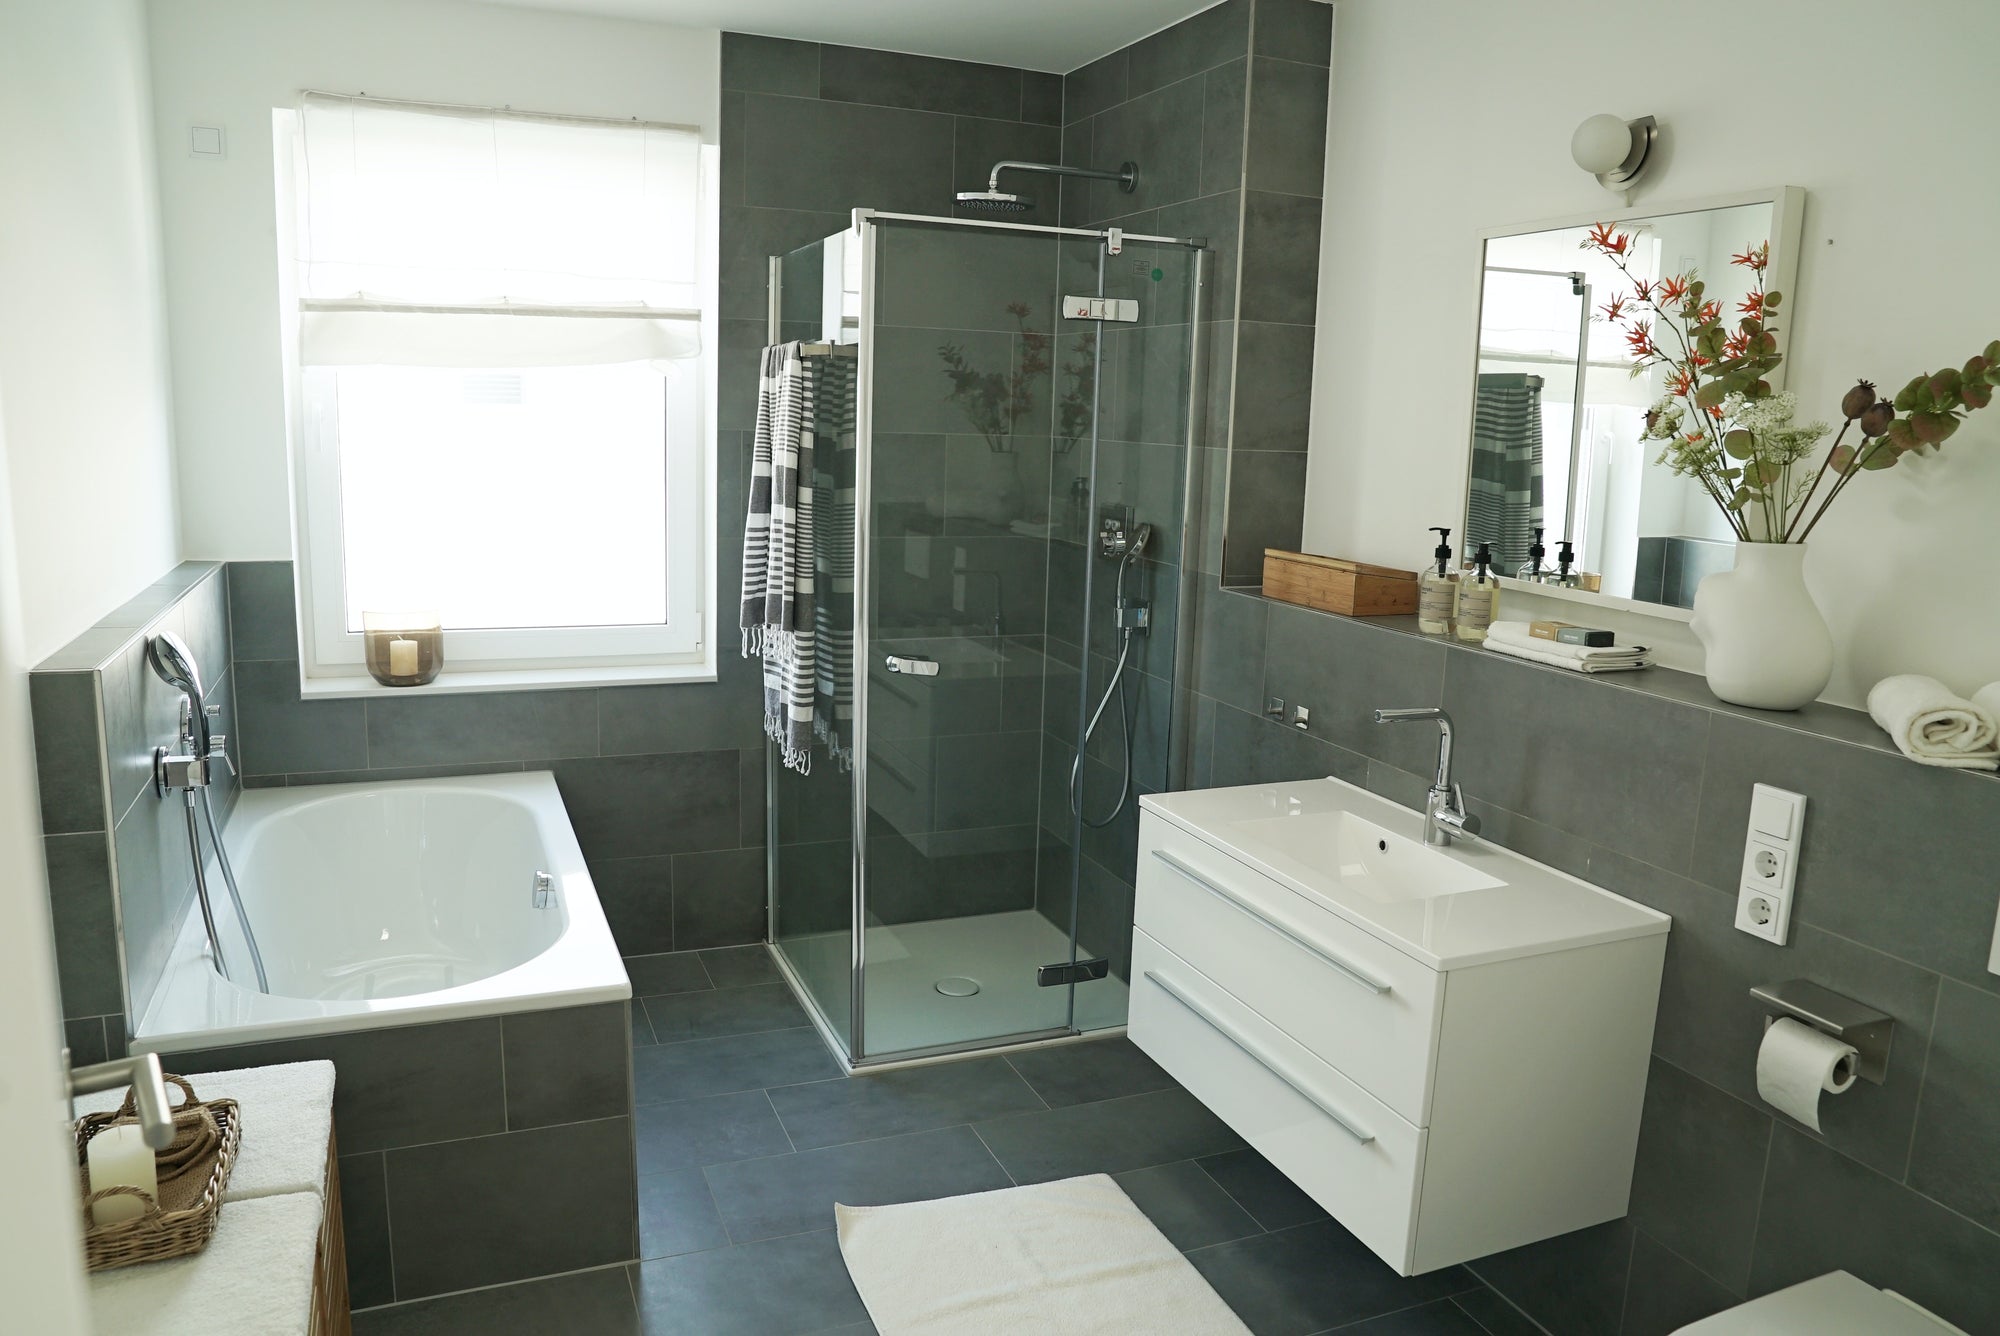
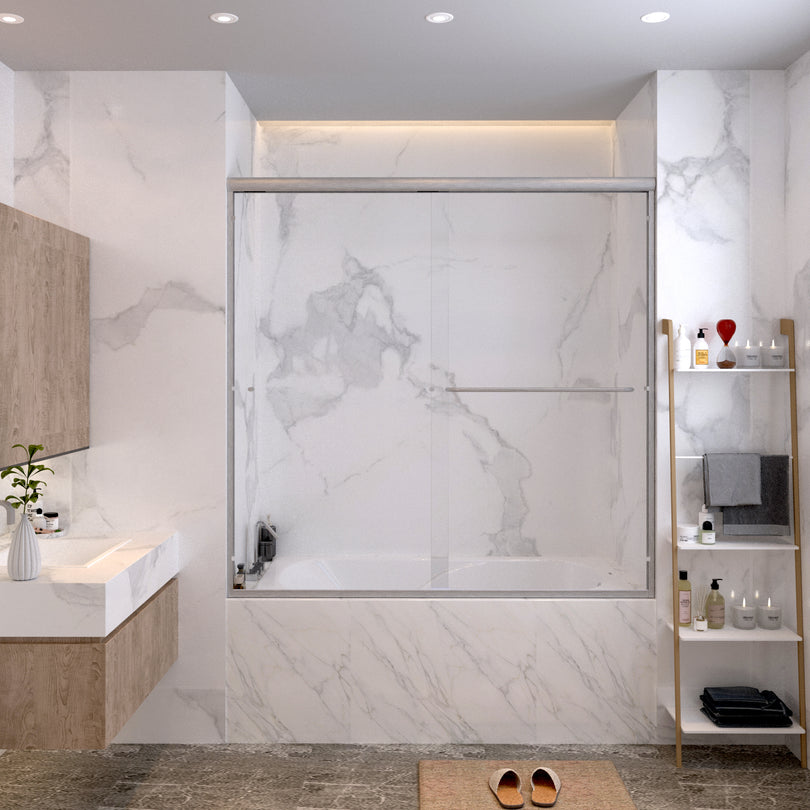
Installing or suitable a shower tray is quite depending on the sort of tray you are installing and the surface area it's being set up on.Suitable or mounting shower trays can be a do it yourself task yet miraculous care need to be taken to guarantee that the tray is both fully sealed, water resistant as well as also totally degree on the base it's remaining on once it remains in location.
To figure out how to fit both an elevated or level shower tray keep reading below.
Should I set up a raised or flat shower tray?
In response to whether you ought to set up an increased or flat shower tray, it depends on a few things-- the type of floor you are setting up on, area of the existing waste if there is one and also how much area there is offered for the tray waste.
In general, if you are installing on a drifting hardwood flooring, a level low profile tray is the method to go as the level base will certainly supply excellent support for the tray as well as likewise accessibility to the bottom of the tray for the waste ought to be rather easy as you can simply reduce an opening in the flooring.
If you are installing your shower tray over a solid concrete flooring after that you may be ideal opting for an increased shower tray as this will avoid needing to chop down in to the concrete to enable space for the waste. That being stated however, if it's a brand-new install and also you have to obtain a full drain in position to carry water to the major drain, this may be something you can do along with the rest of the job.
The major general rule when it concerns any job such as this is to maintain it as simple as possible. Opt for many ideal kind of tray for the area you have and also opt for one of the most uncomplicated technique of obtaining the drainage from eth tray to the major water drainage point. However in some cases, this might suggest a concession in terms of look.
For more advice on the various types as well as shapes of shower tray see our overview right here.
Note: We always suggest that a shower tray is installed prior to the walls are tiled as this permits a far more water limited joint as you can after that ceramic tile to the tray and also seal it appropriately.
How to mount a reduced degree or low profile shower tray
In this instance we will certainly be replacing an old 900 × 900 quadrant shower tray with a brand-new 900 × 900 low degree quadrant shower tray.
After eliminating the old tray it was located that a long-term leakage had actually caused a fair amount of damage to the walls and floor that would all need to be changed before the brand-new tray was mounted in position.
If you are merely replacing an old shower tray with a brand-new one it's ideal to exchange like for like e.g. exact same dimension and also design with the waste in the very same placement, nonetheless if you wish to fit a bigger much more elaborate tray try to match the waste positions closely.
In this manner you can after that utilize the existing waste, reducing the quantity of work needed as rearranging a drain can be a problem as you never fairly recognize what's taking place under the floor!
Remove old tray, evaluate the shower area as well as repair any kind of damage
The first job is to eliminate the old tray if it's still in place. Relying on just how it's repaired, this can be fairly uncomplicated or a little bit of a nightmare.
In this instance we made use of a prying bar to delicately bar the front of the tray up by delicately working your method around the front edge, loosening it as you go. As the tray was old, the adhesive was starting to stop working so after a little job it came away quickly
On first examination of the walls it appeared that much of the ceramic tiles had actually come loose also so all of these were likewise gotten rid of.
With the tray removed it was likewise obvious that the flooring was badly harmed, so this was likewise cut away and after that harmed joists were also eliminated as well as replaced.
With the floor tiles eliminated the wall was additionally inspected carefully. Once more, long-term moisture ingress had triggered substantial damage so we additionally pulled an area of wall away as well as replaced it.
Once the woods were replaced we then undertook changing the flooring and section of wall surface that was removed. Ideally the floor ought to be replaced using 18mm marine grade ply, yet as this task was done during lockdown, all we had to hand was moisture resistant chipboard.
Inspect degree of floor
As we needed to replace a lot of the flooring area that the tray would certainly be remaining on, this offered us the possibility to guarantee that the flooring would certainly be entirely level as well as level for the tray to sit on.
In a lot of circumstances this won't be the case for you, however if you are changing an old shower tray with a brand-new one, the floor should be relatively level anyway, yet you will require to examine just to make certain.
When inspecting degrees you will certainly need to inspect across at least 3 settings-- diagonally as in the above photo however also along the edges of each bordering wall. Examining across these 3 positions will certainly give a good concept as to how level the floor is.
If you locate that the floor isn't degree, by this we indicate truly anything greater than 5mm at one of the most then you will need to use either packers or shims on a timber flooring to get it level.
If you are working on a solid concrete floor you can set up the tray down on a sand and also concrete mortar base, get it level and then allow the mortar to cure.
Inspect existing waste as well as main water drainage
As we have actually stated setting up a new shower tray with the waste in the same setting as the old one must reduce potentially a lot of job.
As I'm sure you can think of, excavating up a solid concrete flooring to trace an existing shower waste pipe to a main drainpipe, moving that pipe to a brand-new position or running a new pipe and afterwards covering it over is a reasonable amount of work.
Furthermore with a floating wood flooring, you can almost ensure that there will be a supporting wall surface or other barrier right where your new waste needs to go!
So as we have actually said, keep it as simple as possible and also attempt to maintain wastes in the same position.
In our example here we have had to eliminate a piece of the floor as it was rotten so this has offered us an excellent direct on exactly how the existing waste runs.
As opposed to our recommendations we have really opted for a tray with a centre waste as opposed to a left hand waste, however as they both run along pretty much the same line we can quickly utilize the existing waste.
When attaching into your main drainage factor, in most cases it will be a 110mm plastic/PVC dirt pipe as we are below. This is a relatively simple task as you can make use of a strap on boss.
Just drill a 57mm opening in the dirt pipeline, coat the inside face of the boss with silicone and clip it in place.
Replace ceramic tiles (if called for).
Due to the moist damages to the walls we needed to get rid of numerous tiles, not just as they hung, but also to replace the broken sections of wall.
As pointed out already, you need to always install your shower tray first and afterwards floor tile to it. As a result of the extremes in temperature level in a shower room as well as the resulting development and tightening, everything relocates a reasonable little bit.
By tiling down to the tray and leave a 2-3mm gap between the ceramic tiles and the tray you can totally secure this with silicone and also allow for any type of development as well as tightening as the silicone itself will certainly absorb this as well as reduce the risks of any type of leakages.
To leave a space to enable tiling down to the tray we took care of an area of batten flat level throughout each wall around an inch above the tray and afterwards tiled up the wall.
When the ceramic tile adhesive had healed correctly the battens were removed leaving approximately a 2 inch void that we can after that floor tile once the ray was totally in place. For more aid as well as recommendations on ceramic tiling, see our project right here.
Setting tray in position as well as mark gain access to hatch and waste.
Prior to positioning the tray down in position, we first changed the areas of floor covering that had been removed that would rest under the shower tray. At the end of the tray we likewise produced a trap door. This was just an area of flooring that could be conveniently unscrewed and also eliminated so that we could access the waste.
The tray was after that laid on the flooring and pushed back against both walls. When in position, all degrees were after that examined to see to it the tray itself was entirely flat as well as degree.
Idea: At this phase it's additionally a great idea to test fit your shower enclosure on the tray to see to it that it fits as called for which the tray is not pushed back as well far creating the unit to overhang at any kind of point. If so, step and note how far it requires to come off of any type of walls for the enclosure to sit properly.
Next off, note the flooring area inside the tray waste to make sure that you understand exactly where you require to cut the hole for the waste.
Once marked, get rid of the tray and placed it away and afterwards cut out the waste hole. In this case we cut a 6 inch hole to enable the waste to sit well with a mild void around it.
A small channel was likewise reduced at the front of the hole as the waste connection extended out of the waste by a couple of inches.
Repair waste to shower tray.
The shower tray waste trap was after that taken care of in position on the tray. This was just a simple matter of unscrewing the top area, placing the major mug section as well as seal under the tray and after that screwing the top area and seal down.
Tighten it to make sure that it is "pinch" tight e.g. tighten it as long as you can by hand and afterwards one last look to squeeze it up and also seal it. You don't require to over tighten it!
Take care of tray firmly in place and enable to treat.
As soon as the waste trap is linked the tray can after that be taken care of in place.
It is very essential to repair the tray to the floor securely and also prevent any type of activity. If any movement happens, even really mild, over time, not just will any type of securing around the tray fail yet it will also loosen up the waste and also cause leakages.
To fix your shower tray securely to the floor, the very best stuff to use is a solid building adhesive. Tidy the base extensively initially to eliminate any kind of grease and gunk and then spread it equally in beads over the base of the tray.
Lay the base down on the floor as well as press it back in to place versus the wall surface, ensuring the waste catch is sat nicely down in its hole and afterwards enable the sticky to treat for the manufacturers recommended time.
Link up waste pipework.
As soon as the tray has set as well as is fully protected, the waste can now be attached up. In this instance we were making use of the existing waste so we pushed the end of the waste pipe up under the flooring (with the screw cap, washer as well as tapered rubber seal in position) and making use of a lantern, located it within the connection on the tray's waste trap.
The compression joint screw cap was then tightened pinch tight to secure the waste pipe in position. Guidance on plastic compression wastes and also how they go together can be seen in our task right here.
The continuing to be end of the waste was then connected in to the soil pipeline at the other end.Before replacing any kind of areas of floor an excellent idea is to test the waste and also ensure there are no leaks. Using a container, fill up the waste up and remain to put water it (a 2nd assisting had would certainly be good below).
With somebody filling the waste for you, utilize a torch to inspect the waste catch and all the pipework for any type of indicators of leaks. If there are any type of tighten up any compressions joints as needed.
As soon as all is well and also good, replace any sections of floor covering.
Completely secure up shower tray.
With the tray in position as well as flooring back we're now on the home directly, all that's entrusted to do now is to secure everything up and also finish off.The very first work is currently secure up the gap in between the shower tray and also the wall. Utilizing some suitable hygienic silicone, run a bead around both sides of the tray that butt as much as the wall and after that dampen your finger as well as use it to force the silicone down right into the joint and then delegate cure.Once the silicone has cured you can then fix in place the remaining tiles. Do not be tempted to tile right to the tray, leave a 2-3mm void. Allow the floor tile adhesive to cure for at least 24 hours to ensure its gone off properly.Once the ceramic tile adhesive has actually healed, you can then obtain some grout therein. Utilize a suitable sponge to force the cement in to the joint, ensuring it's completely filled with no gaps. Tips on grouting can be found in our task here.As with the adhesive, leave the grout to heal for at least 24-hour.
When the grout has actually healed you can then seal up the gap in between the top of eth tray and the ceramic tiles. Use an appropriate silicone, in this situation we made use of Everbuild Forever White as we find it to be truly good.
Use your sealant gun to force the sealer right into the joint so that it's totally filled and then dampen your finger and run it over the surface to both smooth it off as well as force it totally right into the void.
The final job once the interior securing is done is to then seal the space at the front between the shower tray as well as the floor.